How to Make a Fish Extender for a Disney Cruise
Those who have been on a Disney Cruise may have noticed that Disney cruisers enjoy decorating their stateroom doors. You will find elaborately decorated stateroom doors with Disney magnets and fish extenders. Want to learn how to make a Fish Extender?
We have made our own and want to share how easy of a sewing project it is!
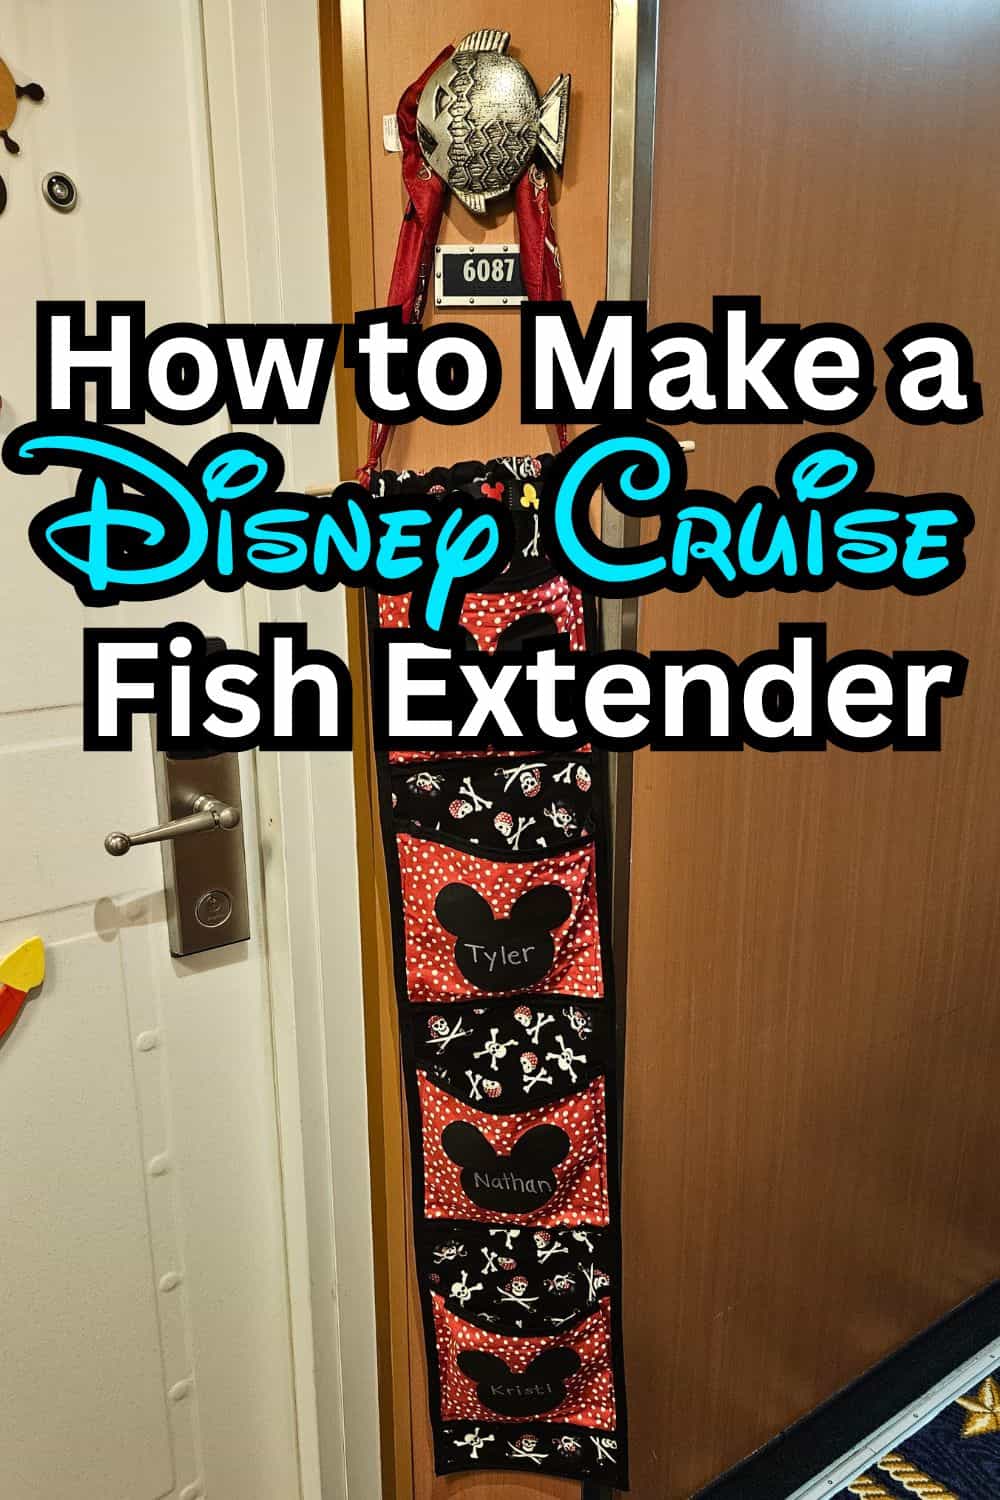
Disney Cruise Fish Extender Tutorial
I have a fairly simple tutorial for you to make your own Fish Extender for a Disney Cruise.
Materials for this fish extender were around $15 including fabric.
While they look complicated to make, all you really need to know how to do is make a straight stitch.
To put it into greater perspective, this was my first sewing experience EVER and I did it all by myself!
Let’s get you started!
What you Need to Make a Fish Extender
- 1/2 Yard of Base Fabric (Jolly Roger Skull Fabric)
- 1/4 Yard of Coordinating Fabric (Red Polka dot Fabric)
- Dowel Rod (10-12″ long)
- 2 Packages of Bias Tape, Extra Wide, Double Fold
- Mickey Mouse Ear Iron On Appliques
- Fabric Markers
- Coordinating Ribbon
How to Make a Fish Extender for Your Disney Cruise
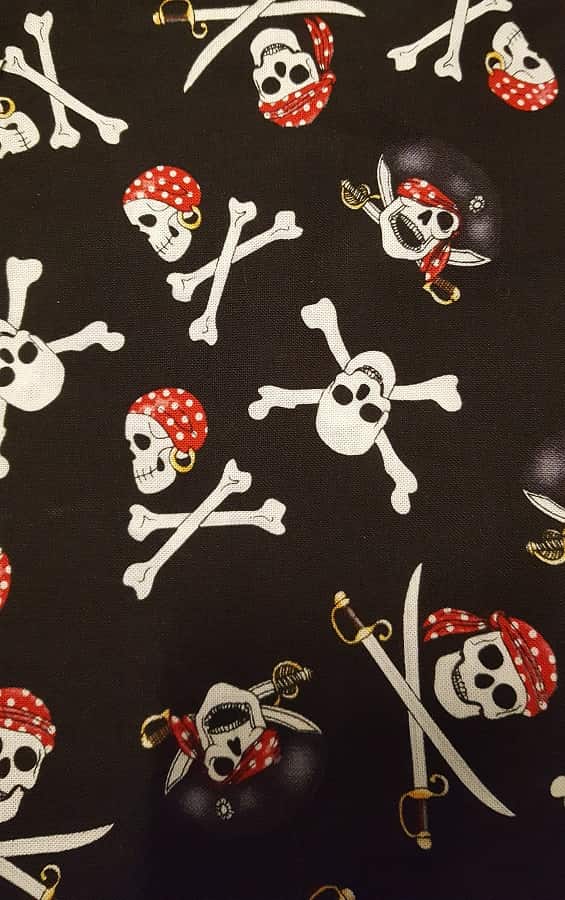
BASE FABRIC (We used this Skull Fabric)
Take your 1/2 Yard of Fabric & fold it over lengthwise. This will be the main part of your Fish Extender.
Iron it flat so that you have a clean crease along one side. This will be about 8 3/4-9 ” wide.
Your length will be dependent on how many pockets you plan on having on your Fish Extender.
Mine has 4 pockets, so I used the entire length of fabric.
After folding lengthwise, sew the open side closed (you may choose to turn it inside out so that the stitching is on the inside of the fabric).
If you don’t, no worries, your bias tape will cover your stitching.
Once sewn, put to the side. You will come back to this after you create your pockets.
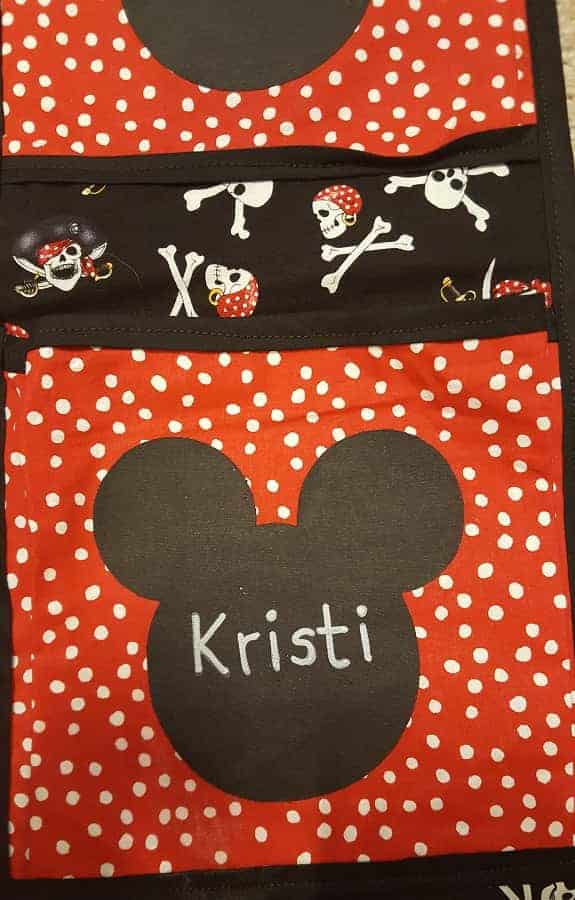
POCKETS (We used a similar Red polka dot fabric)
Take out your coordinating fabric and divide it into 4 equal pieces measuring approx 8″ tall by 11″ wide. This will be the fabric for your pockets.
The first thing you will want to do is sew the bias tape along the top of each of your pockets (11″ side). Do NOT sew to the bottom.
Next, pin pockets along the edges of your base fabric. You will create pleats about 1/2″ or so at each side.
This is done by just tucking the fabric under on each side at about 1/2 “.
You will then iron them flat to create the pleats. The pleats are important because it gives you room to have goodies inserted into your pockets later on.
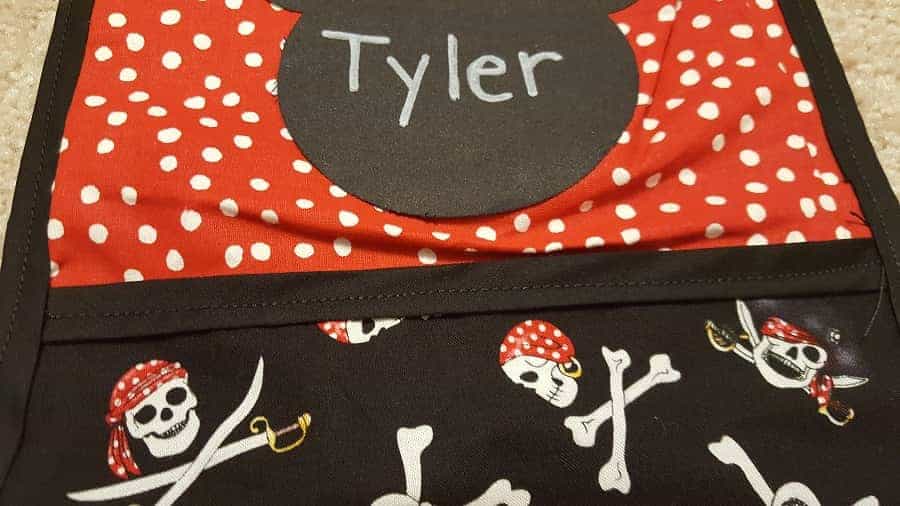
BIAS TAPE (We used black)
Once your pockets are pinned, you are ready to attach your Bias tape around the bottom of each pocket.
Pin as needed.
Use a straight stitch to connect the bias tape to the fish extender.
Now that your pockets are attached at the bottom, you are ready to finish it off by sewing your bias tape around the sides of the entire fish extender.
This will attach the sides of the pockets to the base fabric.
You can also add bias tape to the bottom of your fish extender if the pocket doesn’t hit the bottom.
Don’t sew the top yet!
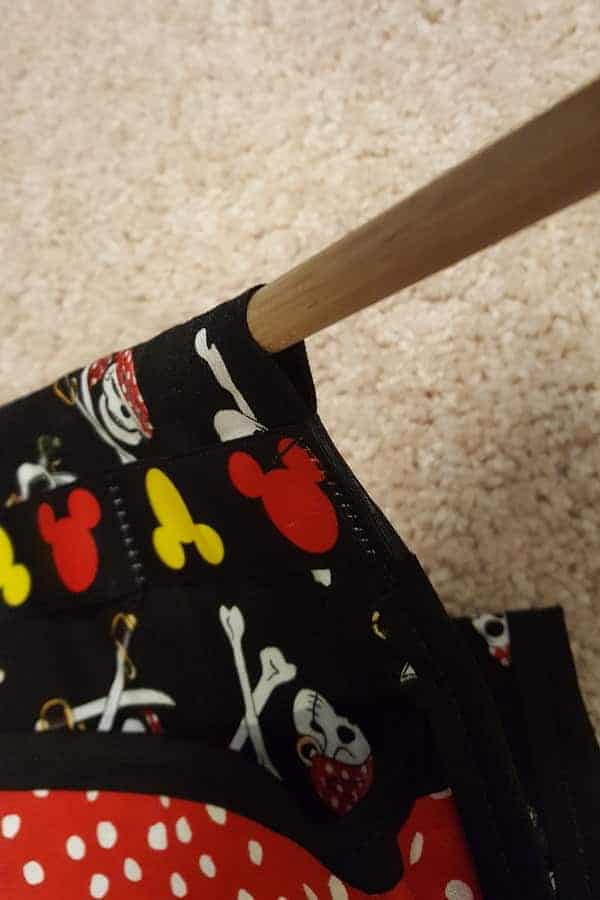
ROD HOLDER
Fold the top of the fabric over so that your dowel rod will fit.
Sew a straight stitch across to create a pocket for the rod.
I used a strip of Mickey Head Ribbon (also used it to tie onto a dowel rod) to give it a little extra Disney zing!
APPLIQUES
To finish off, we simply ironed on our Mickey appliques and wrote our names on them with fabric markers (you could probably use paint markers too).
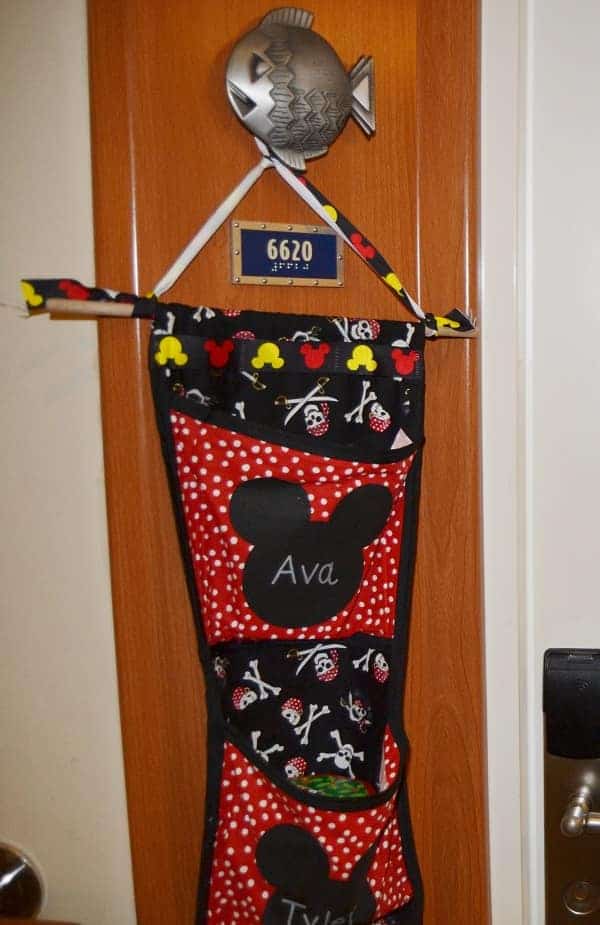
I hope that this helped you learn how to make a fish extender!
If you used our directions and found them helpful or have a question, feel free to ask here or on Disney Insider Tips facebook page! As I stated, this was my first sewing experience, so I hope I did okay at explaining! Let me know how yours turns out!
Don’t have time to make a Disney Fish Extender?
There are a few you could buy….
Fish Extenders You Can Purchase on Etsy
Great ideas on types of Disney Cruise Fish Extenders you can purchase on line. Great rule of thumb is to make sure the one your purchase has one pocket for each person in your stateroom.

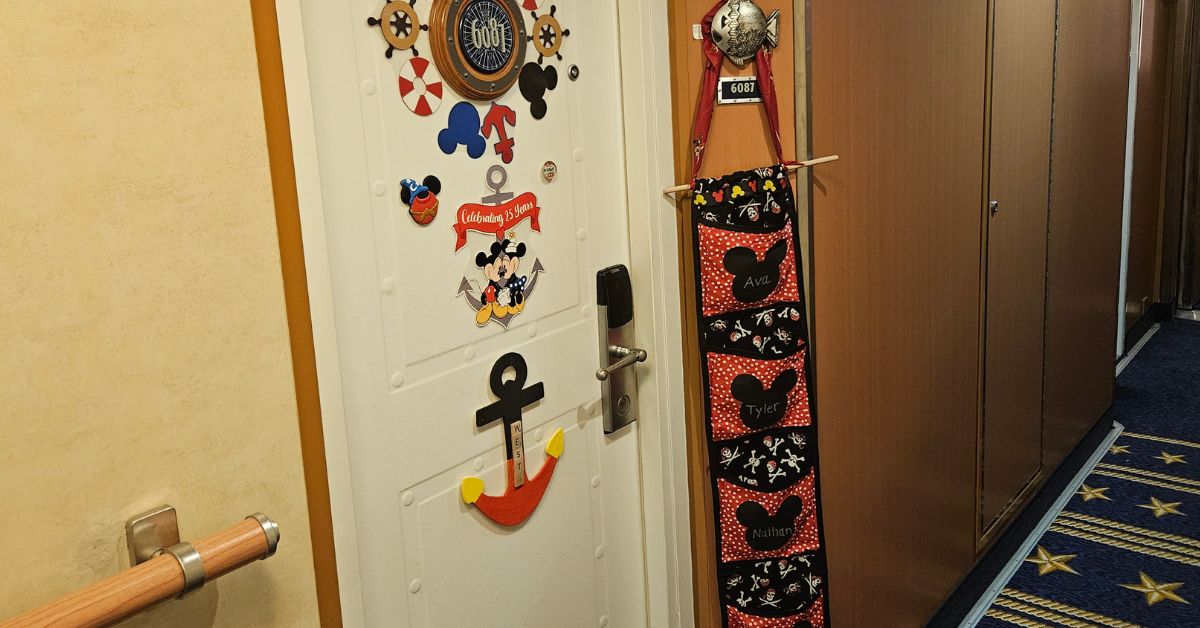

Very cute, I love the pirate fabric! Thank you for sharing at this weeks Creative Muster. Now that you found our party I hope that you’ll continue to join us every Tuesday evening.
Great Job!! How big are the Mickey head appliques?
Thanks! Diameter of head circle is 3.75″ Diameter of ear circle is 2.25″. Top of ear to bottom of head is 5″. Ear to ear is 5″.
Thank you so much, wish I could show you what I made. Your instructions worked perfectly.
Oh I am so glad to hear it! I’d love to see your finished fish extender. Send it to me in an email to disneyinsidertips at yahoo dot com .
My fish extender turned out great. Your directions made it so easy for me to make. I made my pockets slightly wider than the directions (8″x 13″) because I was concerned that they wouldn’t be deep enough for all of our goodies, but I’m sure it would have worked out with the smaller pockets. Thank you!
I am so glad to hear that it worked for you!
I saw these on etsy where you can buy them but now I can’t find them. Do you sell these?
No, I only made my own. People do sell them on Etsy but they are expensive.
What did you write your names on with? Fabric paint? Are there different types of fabric paint and some easier than others? I’m going to try to make mine. Not really a sewer. Lol
I used a fabric marker that I purchased from the craft store. This was my first sewing job and I was surprised at how easy it was.
Thank you for sharring this information. I wanted to make one but was a bit worried. Ill get my fabric this weekend though and do it myself.
It looks harder than it really is. I think the pockets were the most intimiating part of the project, but they aren’t as bad as you would think.
Just wanted to say that your comment “to put it into greater perspective, this was my first sewing experience EVER and I did it all by myself! Let’s get you started!” Motivated me to get my sewing machine out, go to Joann’s fabric and sew my own fish extender. Thank you. This guide was easy enough that i felt comfortable trying to sew again after twenty years! I used to sew my own clothes and even sewed a wedding dress, yes, a wedding dress. After a few bobbin winding problems, i quickly finished this project. I’m bringing to my Mom so she can embroider names and our surname on the top of the extender, but i am happy with the way it turned out! Oh, we are cruising on the Wonder in Oct from San Diego to Ensenada. Can’t wait! Thanks again, Amy!
That warms my heart! I am so glad that I was able to help you. You are going to have a MAGICAL trip on the Wonder!
Thank you for sharing these directions! I used your dimensions and modified the design slightly because I didn’t have bias tape. This was very helpful!
So glad you found it helpful!
Thank you for this post! I’ve never sewed in my life and I found my mom’s old white L.S. Ayers sewing machine. Question on the pockets – after I do the folding to give extra room/give, what is the length and width? If I do 8×11, then only 3 fit. Thanks!
I am completely new to sewing. I found the fabric I want for the pockets, but they only offer two sizes…a yard or a fat quarter. Which should I get? Thanks!
A fat quarter should be fine. It is usually 18″x22″ which means you will have enough for 4 pockets or 4- 9×11 pieces. Just be sure to cut carefully as you will not have room for error.
Thank you for the instructions! I found some great fabric at Walmart. I used the red dot fabric for my background, black Darth Vader fabric for 2 pockets and 2 Disney princess fabrics for the other two. We are going on a Star Wars Day at sea trip, 2 male, 2 female. I wish I could have found princess fabric with more red in it.
I followed the instructions, they were easy.
My only suggestion would be to sew the pockets on before sewing the bias tape on the pockets and sides. I missed the pockets several times and it was a bit tricky to resew without the stitching showing. Plus with the way some of the photos look from all the gifts in the pockets it can’t hurt to reinforce them….
Thanks again!
Awesome! I am so glad it helped! Enjoy your cruise.
Great idea and instructions! I don’t have a sewing machine. Would you recommend hand sewing?
It might be a bit much to hand sew. You could try using hem adhesive that you iron on. It is a stretch, but it might just work!
very precise! thank you for sharing – I have the fabric I would like to use. Now I know how to put it together…. THANKS AGAIN!